
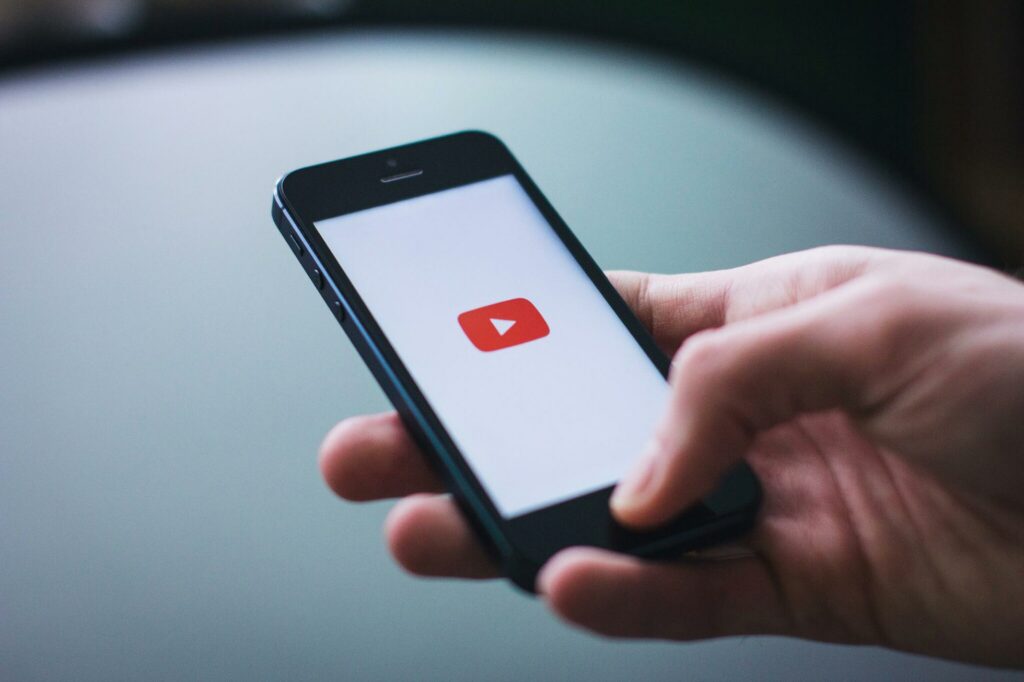
Youtube has around 2 billion users worldwide making it a great place for your company to be seen. There is so much that you can do on the platform and it is the number one place for video content. Whether you want to record your everyday life on the job or post videos of specific areas of interest relevant to your field of work – you will need some equipment to help get your Youtube Channel going.
CAMERA
Probably the most important piece of equipment needed is some form of camera. When you are first starting you may find yourself just using the camera built into your phone to record footage and this can work for some. Many of the newer smartphones have a high-quality camera built-in so this can be a good place to start if you are not ready to drop hundreds or even thousands of dollars on a camera. However, if you want to focus on making your channel grow it may be time to invest in a higher-end camera.

DSLRs
When thinking of a professional camera many people picture a DSLR (digital single-lens reflex) camera. These can range in price from a few hundred dollars to well over a thousand depending on which brand and model you get. My first DSLR was a Canon Rebel T6 and I still have it. The video and picture quality is good but unfortunately, you cannot connect an external microphone to the camera so the audio is not always as good. I have since upgraded to a Canon 90D and it has more features to improve on quality as well as a place to attach a microphone to get crisp and clear audio. Both cameras provide a better image than the camera on a smartphone and have different features internally to change the picture. They also require a separate lens which allows you to change out the lens to your need. DSLR’s are great to use for shots in which you will have your camera static. Depending on the lens you put on the camera can become heavy and would not be practical to hold for too long. Other brands of DSLRs are and Panasonic.

Digital Video Camera
A smaller handheld camera is quite useful for filming “Day in My Life” style videos (also referred to as vlogs or video blogs). A very popular version is the Canon – PowerShot G7 X Mark II. These smaller cameras tend to be a little bit cheaper than your high-end DSLRs such as the Canon 90D; however, the picture on them is very high quality and many allow you to attach a mic (double-check your specific camera to make sure it does have the headphone jack) which rests on top of the camera to provide excellent audio. These cameras are great for videos where you will be holding the camera up for a long period as they are smaller and lighter. Many of the cameras just like the DSLRs are going to have features that vary from model to model so it is a good idea to research the camera you are looking at to make sure it fits your specific needs.

Camera Accessories
Once you have your camera picked out there are a few pieces you need to get to go with the camera. Most DSLRs and some digital video cameras require a lens. You can buy the camera body with a lens as a starter bundle in some cases and this lens will be good to get started but most of the time the starter lens is not the highest quality lens. Also, you may want to get various lenses that have different focal lengths such as 24mm and 50mm. Another crucial part you will need is an SD card. Without an SD card, you cannot record. When finding the right SD card you need to think about how much content you will be recording so you have enough storage on the card. It is also important to make sure it is a high-quality card so that it is less likely to corrupt and erase your footage. A class 10 card is usually a good one (there should be a little 10 on the card). I also recommend having multiple cards because they can break and sometimes fill up when you still need to record. Other smaller pieces to get are a camera strap, carrying case, lens filters (this UV one helps when filming outside), and a cleaning cloth or kit for the lens.
MICROPHONES
If you want to gather any kind of audio with your camera whether it is someone talking or background noises then you will want to have an external microphone attached to your camera. Just like cameras, different kinds of mics are used for different kinds of videos.

Lavalier Microphone
Lavalier (lav) mics are good to catch dialogue because they attach to the person speaking’s shirt. If you have more than one person speaking they will both need a lavalier microphone or you will need to use a different mic. Many times when you see anchors on a news station they are wearing individual lavalier microphones. They are useful because they allow the speaker to be hands-free while still having the microphone right by their mouth for clear sound. Pro tip: When using a lavalier make sure you do not have on any big necklaces or anything that would rub up against the microphone. You might not hear the feedback but whoever is listening will hear whatever is rubbing up against the mic.
When choosing a lavalier many of the budget ones are attached to a cord that goes all the way to the camera or recorder. These still tend to have pretty good sound but the cord can get in the way if the person who is speaking is moving but they work well if the person is stationary. If you have the money and plan on having whoever is mic’d up moving you should invest in a wireless lav. The person speaking has the microphone attached to a transmitter box which can attach to a waistband or fit in their pocket out of sight. It connects wirelessly to the receiver box which is then attached to the camera or the recorder. These tend to be more expensive but usually produce better sound and again allow the speaker to move about. Also, this allows the camera to not be as close to the speaker.

Shotgun Mics
Another kind of microphone you may consider getting for your Youtube channel is a shotgun microphone. This microphone is larger than a lavalier and allows sound to be picked up from more than one person. This means you can film more than one person without having more than one microphone. They are popular for vlogging because many can be attached to the top of the camera and so there is no cord and it is hands-free. Other shotgun microphones may be attached to a stand and set up close to the talent to pick up the sound. Pro tip: If you are using a shotgun microphone (or any microphone) make sure to put some kind of wind guard on it so that any wind will be cut out.
STABILIZATION
Now that you have your camera and your microphone covered let’s talk about how to keep your footage from being shaky. There are times when you may need to shoot video handheld (ex. a vlog) but more times than not having something to set your camera on allows you to get better footage. Don’t be the person who says they have super stable hands and then gets back to edit the footage and finds it to be super shaky.

Tripod
The most well-known way to keep footage from being shaky is by using a tripod. As the name suggests a tripod is a piece of equipment that you set your camera on and it has three legs for support. Most cameras have a small hole on the bottom which allows it to screw onto what is called the plate of the tripod which then slides into place onto the tripod and holds the camera securely. There are many different brands and sizes of tripods and I have used various ones over the years which all worked well. When looking at tripods make sure to read reviews and find out which will hold your specific camera. Some of the cheaper ones may not hold a heavy DSLR with a big lens. You can also use a monopod if you need to be more mobile (ex. shooting a sports game). This is a similar setup to a tripod but it only has one leg so it needs to be held up by someone whereas a tripod stands on its own.

Ronin
Stabilizers
If you are wanting to be more mobile with your camera but still need the footage to be stabilized then there are various other tools you can use. One cool piece of equipment is a gimbal which allows the camera to rotate around a set axis. An example of a gimbal is the Ronin S which I have and love. These are a bit more expensive and take some practice but once they are set they can allow for some awesome shots. Another simpler piece of equipment is a fig rig. This piece looks like a steering wheel with a place in the middle to hold your camera. You can then hold onto the outer piece and move the camera around while it stays stable. Both of these pieces of equipment allow the person filming to move their camera all over while still producing crisp shots.

LIGHTING
One piece of equipment that is not 100% needed at the beginning or if you are just planning to film the day in the life vlogs if lighting. However, if you want professional videos especially that are filmed inside having some kind of lighting is going to be important. Many buildings have overhead lighting that does not look good on a camera or it may contrast the light coming in from a window. Again there are many different kinds of lighting but two popular styles of lighting for Youtube videos are ring lights and box lights. When buying lights make sure to look at the different temperatures each light has built-in so that you know if it will work for what you want. It is also helpful to have filters and reflectors so that you can get the exact appearance you want. Filters can help to put different tones on the light or diffuse the light so that it isn’t too harsh. Reflectors allow you to direct the light where you need it and can also be used with sunlight.

POST PRODUCTION
Once you have gathered your footage you will want to edit it into the desired video. This means you need some kind of video editing software and a computer. There is three main software I will touch on but these aren’t the only ones. A good software for beginners is the classic iMovie. This software tends to be simpler and is also good because it usually comes pre-downloaded on many laptops. If you are looking to pay for software you can choose between Final Cut and Adobe Premiere. Final Cut, unfortunately, is only available on Apple computers whereas Premiere is used on both PC and Apple. Another difference is that Final Cut is a one-time purchase and Premiere is a monthly cost (usually apart of Creative Cloud which comes with other software such as Photoshop). Other than those differences the decision between the two is usually a personal preference.
CONCLUSION
Yes, this list may seem like a lot of equipment to get before starting your channel; however, you do not need every piece before you start and once you get many of these items you will be able to use them for years. Before starting it may be helpful to watch other videos on Youtube that have tips for beginners so that you can get a feel for what all it entails. You will also want to sit down either by yourself or with your team and figure out what you want your brand to look like on the platform. This way you can come up with some cool video ideas that you think will reach the most people while still being relevant to your company. Youtube can also be great because if you get enough viewers you can start monetizing your videos with ads, but this is not something to worry about at the beginning. Spotlight Revenue has an experienced media production team and would love to help answer any questions you may have.